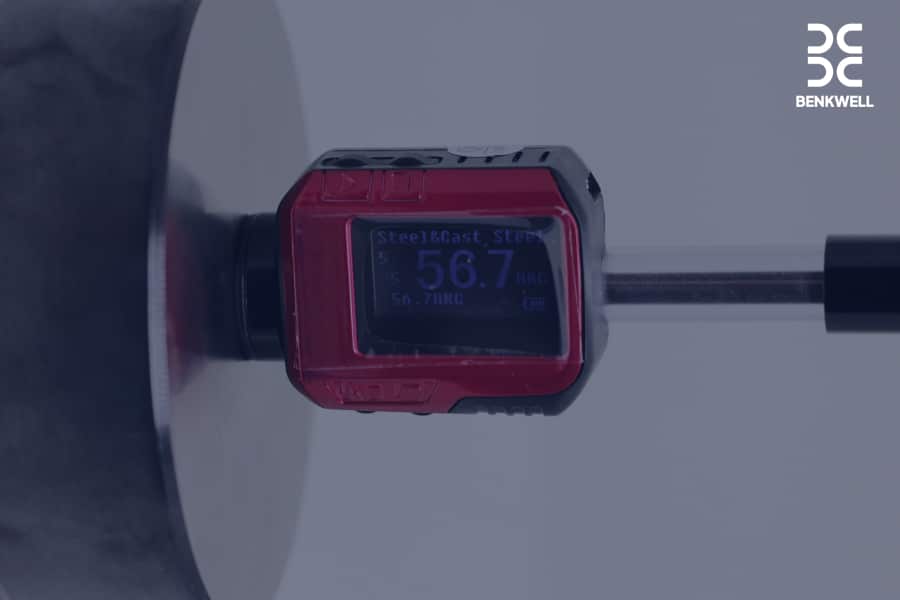
Daily Maintenance Guide
1. Cleaning and Inspection.
Begin each day by visually inspecting the device for any visible damage or wear. Clean the surface of the tester, including the impact device and supporting components, using a soft, lint-free cloth.
2. Battery Check.
Verify the battery status regularly. Ensure the battery is charged when necessary to prevent unexpected disruptions during testing.
3. Impact Body Inspection.
Examine the impact body for signs of damage or excessive wear. If wear is evident, consider replacing the impact body to maintain accurate results.
Impact Device Maintenance
After 1000-2000 uses, it is recommended to clean the catheter of the impact device and impact body using a nylon brush. Before cleaning the catheter, unscrew the supporting ring. Then, remove the impact body, rotate the nylon brush counterclockwise into the tube, and gently pull it out when it touches the bottom. Repeat this process. Finally, reload the impact body and supporting ring.
Users should release the impact body after each use. Additionally, it is important to note that the use of lubricant is prohibited.
Troubles and Solutions
| No. | Issue | Cause | Solutions |
| 1 | No response when switched on | Insufficient power supply | Charge the battery |
| 2 | Abnormally high results | Test tip wearing | Replace the test tip |
| 3 | No test results | Coil damage | Contact distributor for assistance. |
| 4 | Printer not responding | Beyond the transmission range | Place within 3 meters for proper communication |
| *The others, please contact the distributors for assistance. | |||
Maintenance
In the calibration of the hardness tester, if you find that the error is larger than 12HL, you should replace the impact ball or impact body. This could be because the impact ball or impact body is worn out, leading to operational failure.
If the hardness tester experiences other abnormal phenomena, do not dismantle or adjust any fixed assembly parts. Instead, complete warranty cards and send them to the authorized maintenance department for servicing.
Calibration Process
1. Prepare Controlled Test Blocks.
Use calibrated test blocks with known hardness values for the calibration process.
2. Perform Calibration.
Follow the step-by-step calibration procedure outlined in the user manual. This involves comparing the readings of the tester against the known hardness values of the test blocks.
3. Adjust Settings.
If any discrepancies are identified during calibration, adjust the device settings accordingly to align with the known hardness values.
4. Verification Testing.
After calibration, conduct verification tests using different test blocks to confirm the accuracy of the adjustments.
5. Record Calibration Details.
Maintain a comprehensive log of maintenance activities, including dates, components checked, and any replacements made. Keep records of calibration dates and adjustments.
Regular maintenance and calibration ensure that BENKWELL Portable Hardness Testers continue to deliver precise and reliable results, enhancing the efficiency and accuracy of material hardness assessments across various industrial applications. By integrating these practices into your routine, you not only extend the lifespan of the device but also uphold the integrity of your testing processes.
